Prepare a strong reference
Use a sharp, well-lit source with the subject, camera angle, and important edges clearly visible. Remove distractions that could be mistaken for details to preserve.
Realism control
Image to image ai realistic workflows work best when you preserve the source structure and change only the details that matter. Start with a clear reference, describe the intended result, and refine in small steps.
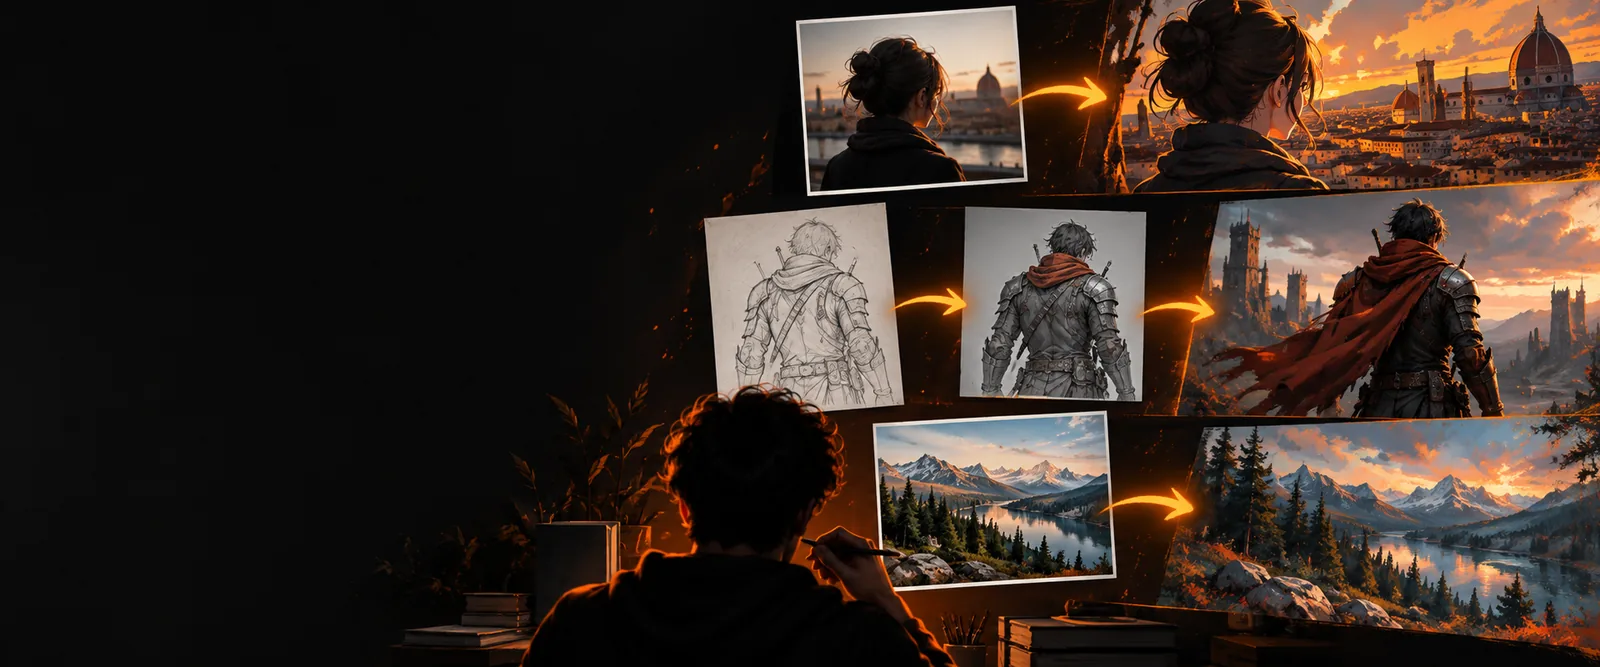
These related workflows help you decide whether to prioritize speed, access, or technical control before refining a realistic result.
Use a browser-based workflow when you want to test a realistic transformation without installing a local interface.
Explore a free route for trying realistic edits before committing to a more advanced setup.
Learn how Stable Diffusion-style controls can give you finer influence over structure, texture, and variation.
A convincing result usually comes from separating structure, intent, and review instead of asking for every change at once.
Use a sharp, well-lit source with the subject, camera angle, and important edges clearly visible. Remove distractions that could be mistaken for details to preserve.
Name what should stay the same, then specify the new material, lighting, setting, clothing, or mood. Concrete visual language gives the model fewer ways to drift.
Compare the result with the reference at full size. If the face, hands, geometry, or background moved too far, reduce the scope of the next prompt and try again.
Realistic output is easier to judge when you inspect the same practical signals every time.
Realistic image editing can look polished while still missing important source details. These caveats help you set a better expectation and choose a useful workaround.
Labels, logos, signs, and product copy can be softened, rearranged, or replaced during a transformation.
WorkaroundAdd text after the image is generated, or use the result as a visual draft rather than a final layout.
Fingers, jewelry, facial symmetry, and tightly overlapping objects are difficult to preserve when the edit affects nearby areas.
WorkaroundUse a simpler prompt, keep the edited region narrow, and inspect hands and faces before sharing the result.
Blur, harsh compression, unusual perspective, and poor lighting give the workflow less reliable information to preserve.
WorkaroundStart with the clearest reference available and improve exposure or cropping before requesting a major change.
Repeated generations may vary in identity, exact clothing details, background objects, or lighting direction.
WorkaroundDescribe the fixed elements again and make smaller revisions instead of changing the whole scene at once.
The strongest transformations preserve the visual evidence in the reference while introducing a controlled, believable change.
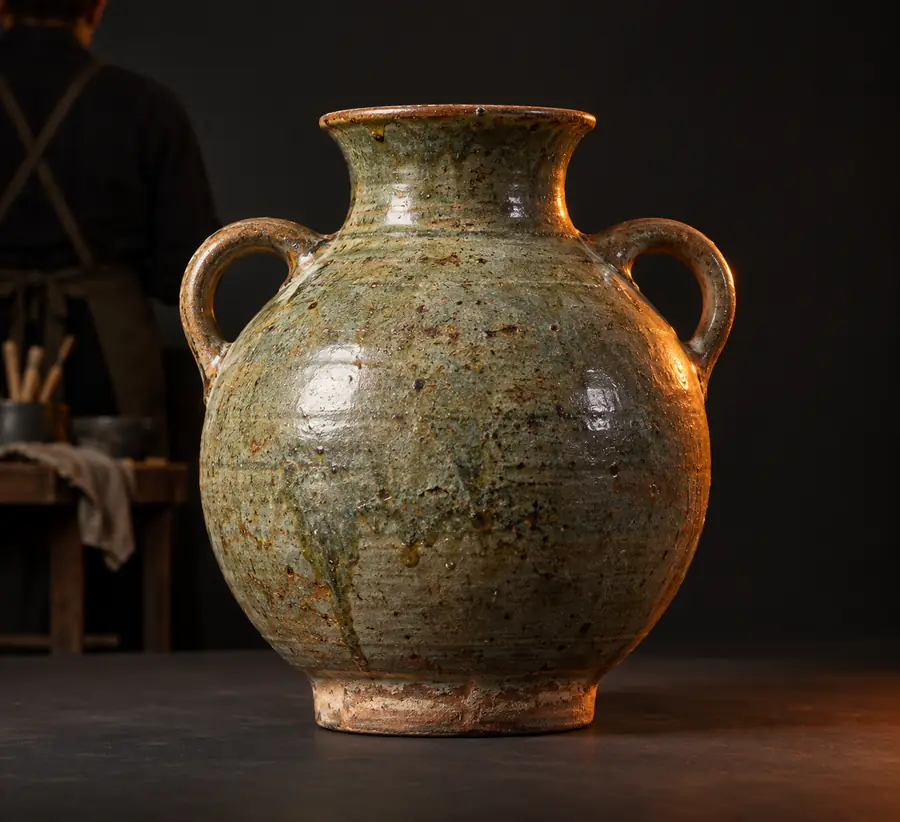
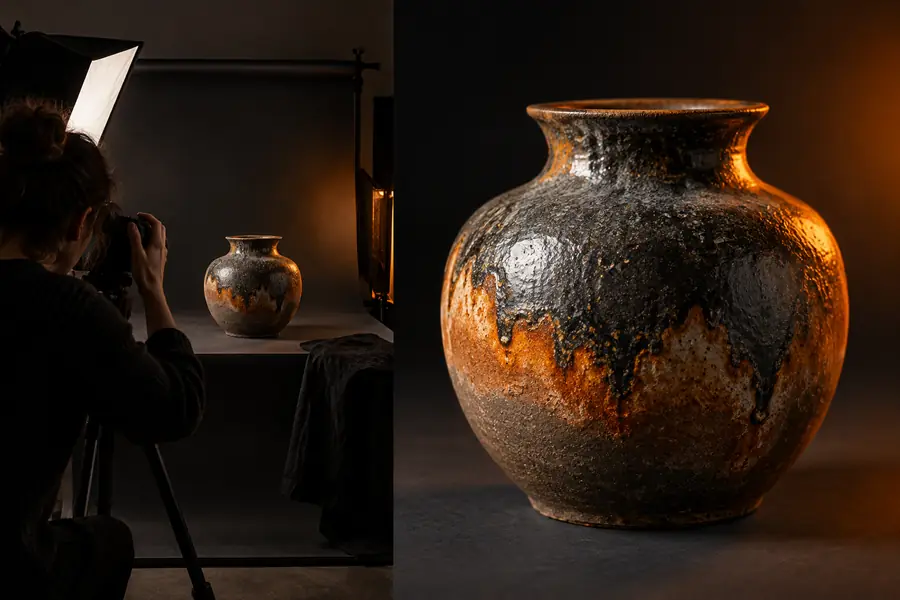
Compare the face, pose, edges, and light before judging the new details.
Describe the details you want to preserve, name the change you want to see, and use the result as a first pass. Image To Image is designed to make that visual iteration simple, whether you are testing a product direction, exploring a portrait treatment, or reshaping a scene.
It means using an existing image as visual guidance while an AI system creates a modified version with a more lifelike appearance. The source can help preserve composition, pose, identity, or lighting while the prompt directs the change.
Begin with a sharp reference and describe the subject, material, lighting, camera perspective, and details that must remain unchanged. Smaller edits are usually easier to keep believable than a prompt that replaces the entire scene.
It can preserve facial identity more reliably when the source is clear and the requested change does not alter the face heavily. Results may still vary, so compare the edited face with the reference and refine with narrower instructions if needed.
Common causes include inconsistent lighting, incorrect shadows, distorted hands, changed text, and details that do not match the source perspective. A cleaner reference and a more focused edit can reduce these problems, but no workflow guarantees perfect preservation.
State what to keep first, then describe the requested change using concrete visual terms such as fabric, light direction, lens feel, setting, and surface texture. Mentioning the desired photographic or editorial finish can also help establish the intended level of realism.