Prepare the source
Use a sharp image with a clear subject and remove distractions that the model might interpret as part of the intended design. Crop it close to the useful content and keep the aspect ratio appropriate for the final image.
Hands-on workflow
This stable diffusion image to-image tutorial shows how to turn an existing picture into a deliberate variation, from choosing the right workflow to checking the final result. Start with a clear source image and change one variable at a time.
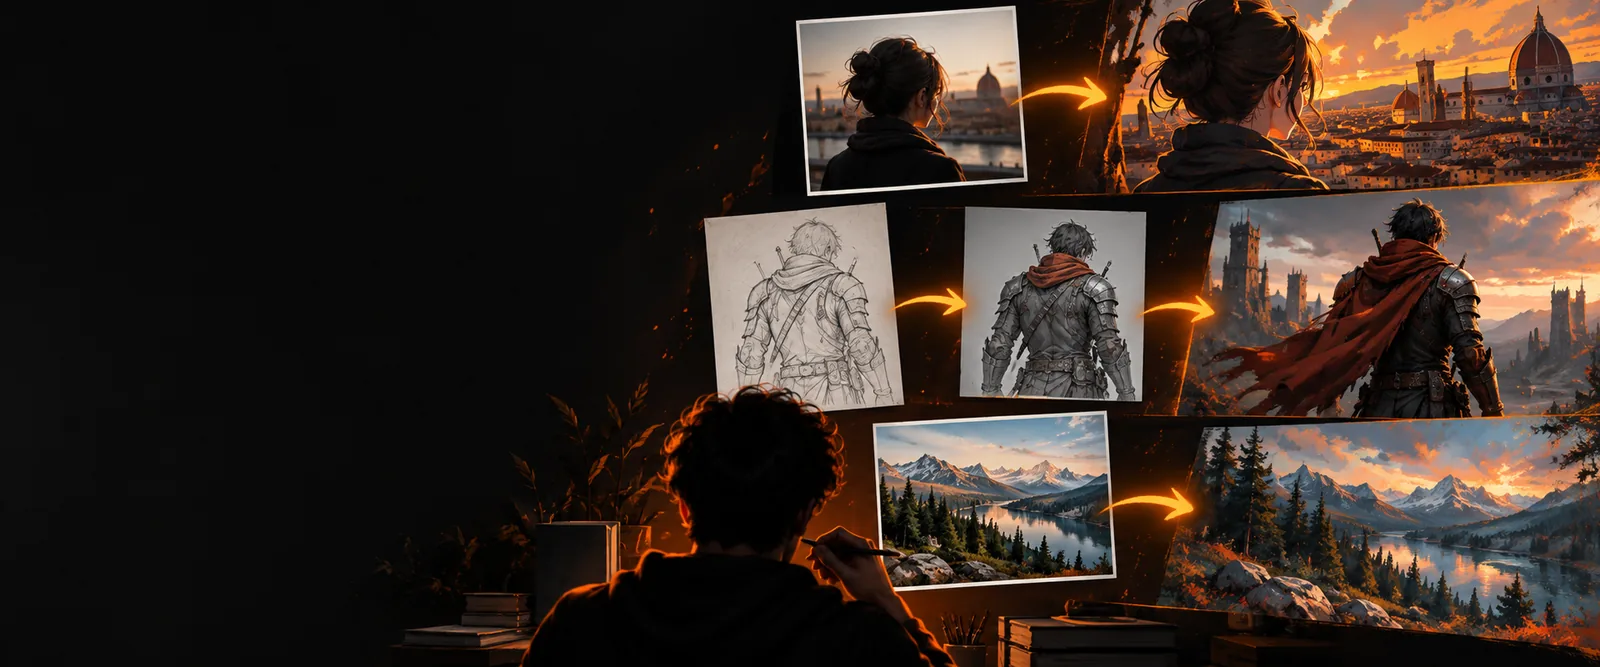
Use the route that matches your goal. These related guides explain the broader workflow, the free route, and what to expect before you begin.
A gentle introduction to source images, prompts, strength, and basic result selection.
A practical guide to trying image transformation online without adding unnecessary setup.
A focused explanation of how Stable Diffusion changes an image instead of starting from noise alone.
Tips for preserving believable lighting, anatomy, materials, and camera perspective.
Choose Path A when your source already has the composition, pose, or layout you want to preserve. The aim is a measured edit rather than a complete reinvention.
Use a sharp image with a clear subject and remove distractions that the model might interpret as part of the intended design. Crop it close to the useful content and keep the aspect ratio appropriate for the final image.
Write the subject, the desired change, and the visual treatment in that order. For example: keep the same street and camera angle, replace the daytime sky with a cloudy sunset, realistic photography.
Begin with a moderate image strength so the original structure remains visible. Increase it only when the edit is too subtle; lower it when the subject, pose, or framing starts drifting.
Create several variations with the same prompt before changing the wording. Comparing a consistent batch makes it easier to tell whether the setting or the prompt caused an improvement.
This decision table keeps the first attempt simple. Match your intended level of change to the setting that controls how strongly the source image influences the output.
Preserve the source
Keep the subject, pose, layout, or camera angle
Reimagine the source
Create a new interpretation from the same broad idea
Preserve the source
Name the single visible change first
Reimagine the source
Describe the new subject, setting, mood, and style
Preserve the source
Start low to moderate and raise it carefully
Reimagine the source
Use moderate to high strength when structure may change
Preserve the source
The original framing should remain recognizable
Reimagine the source
Framing may shift to support the new concept
Preserve the source
Preserve, same pose, same angle, matching lighting
Reimagine the source
Transform, redesign, new environment, alternate style
Preserve the source
The edit barely appears
Reimagine the source
The output loses the original subject or identity
Preserve the source
Increase strength slightly or make the change more explicit
Reimagine the source
Lower strength and reinforce the source features in the prompt
Preserve the source
The requested change is visible while the structure stays stable
Reimagine the source
The source inspires the image without limiting the new direction
Choose Path B when the source is mainly a composition guide and the final image needs a stronger creative shift. Treat the first result as a direction finder, not a finished answer.
Keep the face and head angle, but change clothing, background, and lighting.
A controlled identity-preserving edit is easier when the prompt states what must remain unchanged.
image to image tutorial for beginnersUse a rough sketch or blocked composition as the starting point for a polished scene.
Higher strength and a fuller scene description can turn layout guidance into a more developed concept.
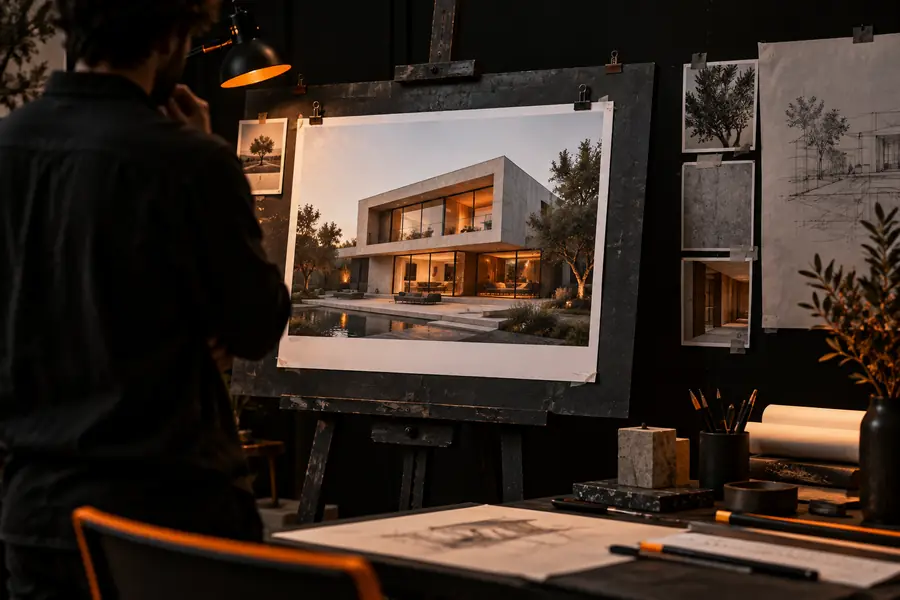
how to use image to image freeKeep the product silhouette while testing materials, colors, and a new studio background.
Separate the product description from the material and lighting instructions so the form stays recognizable.
image to image stable diffusionTurn a rough environment blockout into a mood study for a forest, ruin, or interior level.
A clear camera direction and environment description help the result remain useful as a visual reference.
image to image ai realisticCompare the source and result at the same size before deciding whether to revise the prompt or the settings. A good edit changes the intended feature without introducing distracting damage elsewhere.
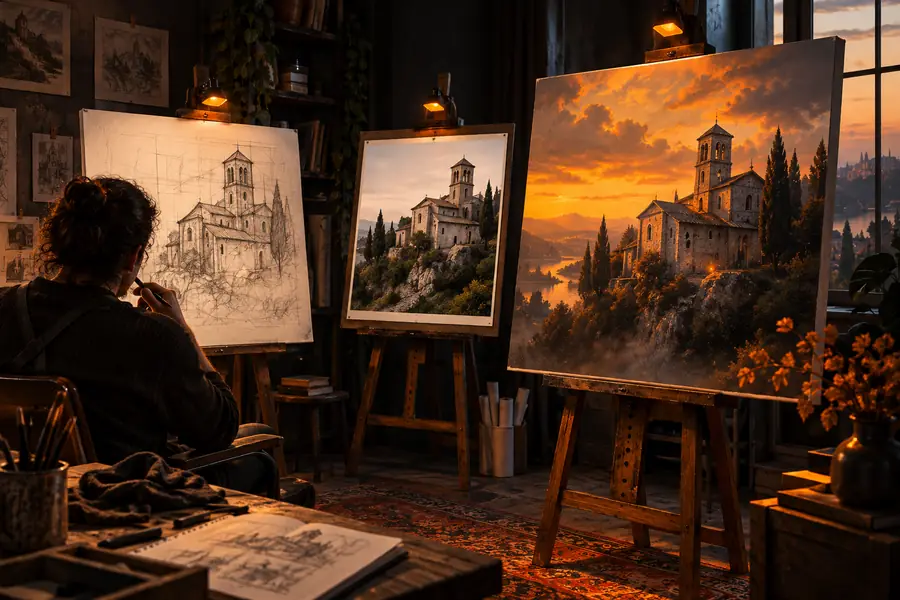
Check structure before style.
These reference points are not rigid rules. They give you a useful order for troubleshooting when the output is either too similar to the source or too far from it.
Upload a source, describe the intended change, and compare the result with the original before making another adjustment. The best Stable Diffusion workflow is iterative: preserve what already works, change one variable, and use the next result to decide what needs more control.
These answers cover the decisions that most often determine whether a first Stable Diffusion image-to-image attempt feels controlled or unpredictable.
Begin with a clear source image and decide what must stay the same. Then describe one main change in the prompt before adjusting strength or adding extra style terms.
Start with a low or moderate value when you want to preserve the subject, pose, and composition. Increase it gradually when the requested change is barely visible, and reduce it when the result stops resembling the source.
The strength may be too high, or the prompt may describe a new scene more strongly than the features you want to preserve. Lower the strength, state the important source features explicitly, and test the same prompt again.
Describe believable lighting, materials, perspective, and camera conditions instead of relying only on the word realistic. Check anatomy, edges, shadows, and repeated textures at the end, then revise the weakest part first.
If the requested edit is missing, make the change more explicit in the prompt. If the edit is present but the structure is drifting, adjust the image strength before rewriting everything.
Yes, when the goal is to guide composition, pose, or perspective rather than preserve finished detail. A rough source usually needs a stronger visual description and more tolerance for structural changes in the result.