Choose a useful reference
Start with a sharp image whose subject is visible and well lit. Decide whether you want to preserve the pose, composition, colors, identity, or only the general idea; you rarely need to preserve all five.
Beginner guide
This image to image tutorial for beginners shows how to start with one reference, write a useful prompt, review the result, and improve it without getting lost in advanced settings.

Gather a clear reference and decide what should change before you begin. These related guides explain the main tool choices and simpler free workflows.
Use this route when you want more control over denoising, models, and repeatable settings.
Follow this practical path when your priority is making a first transformation without unnecessary setup.
See how prompt wording and reference strength can preserve believable materials, lighting, and proportions.
The image to image workflow is easiest when you separate preparation, generation, and review instead of changing everything at once.
Start with a sharp image whose subject is visible and well lit. Decide whether you want to preserve the pose, composition, colors, identity, or only the general idea; you rarely need to preserve all five.
Write the subject first, then the new style or setting, followed by important details such as lighting, camera view, materials, or mood. Say what must remain recognizable and avoid stacking unrelated ideas in one prompt.
Make an initial result, compare it with the reference, and change one variable at a time. If the structure is right but the style is weak, adjust the prompt rather than replacing the source image immediately.
Keep the reference, prompt, and best output together. A short note about what changed makes the next image to image pass easier to repeat and helps you spot which instruction actually improved the result.
Most early failures come from a mismatch between the reference, the prompt, and the amount of change requested. Use this table to diagnose the result before starting over.
Common beginner choice
Use a blurry, dark, or heavily cropped image.
Better adjustment
Choose a clear image with the main subject separated from its background.
Common beginner choice
List several styles, locations, moods, and subjects at once.
Better adjustment
Describe one transformation and keep only details that support it.
Common beginner choice
Ask for a new style without saying what must stay unchanged.
Better adjustment
Name the features, pose, composition, or colors that should remain.
Common beginner choice
Request a dramatic redesign when the composition matters.
Better adjustment
Ask for a moderate change first, then increase the creative distance gradually.
Common beginner choice
Ignore extra fingers, warped text, or inconsistent edges.
Better adjustment
Inspect the output at full size and revise the prompt or regenerate the weak area.
Common beginner choice
Change the reference, prompt, and style simultaneously.
Better adjustment
Change one factor per attempt so you can identify the useful adjustment.
Once the basic image to image process feels predictable, use small, deliberate constraints to improve consistency without making the prompt hard to follow.
A useful transformation preserves the parts that carry the idea while changing the visual treatment requested in the prompt.
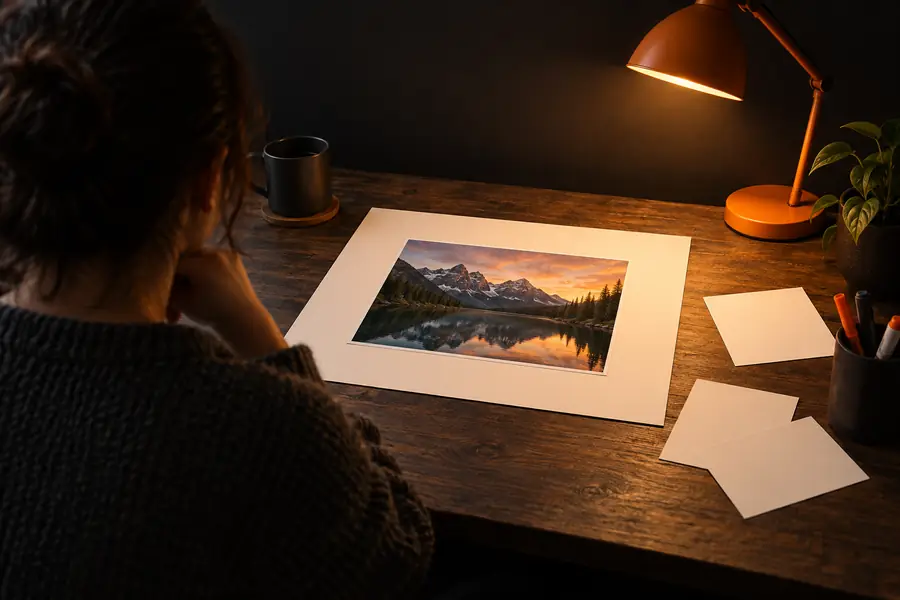
Compare structure first, then style and fine details.
A beginner workflow is powerful, but it is not magic. Knowing its limits prevents wasted attempts and helps you choose a more suitable method when needed.
A vague prompt and an ambiguous reference can produce a plausible image that misses your actual goal.
WorkaroundState the subject, the desired change, and two or three details that matter most.
Signs, labels, logos, and small interface elements may be distorted even when the surrounding image looks convincing.
WorkaroundCreate the visual first and add precise typography in an editor afterward.
Large style changes may alter faces, hands, object edges, colors, or spatial relationships from the reference.
WorkaroundReduce the creative distance, simplify the prompt, and review each result at full size.
Compression, poor lighting, and blocked subjects limit how reliably the system can infer structure.
WorkaroundUse the clearest available reference and crop away distractions before transforming it.
You do not need advanced settings to learn the image to image workflow. Upload a reference, describe one purposeful change, and use the first result to decide what to refine next.
These answers cover the questions beginners usually ask before trying their first transformation.
Choose one clear reference image and decide what should change before writing anything. Then describe the subject, the intended transformation, and the details that must remain recognizable.
Start with the subject and action, then explain the new style, setting, lighting, or materials. Keep the first prompt focused; adding every possible detail can make the result less consistent.
The requested change may be too broad, or the reference may not clearly show the structure you want to preserve. Use a clearer source, state which features must remain, and make a smaller adjustment first.
There is no fixed number, but repeated attempts with the same unclear instruction rarely solve the underlying issue. Compare the output with the reference, identify one specific weakness, and revise that part of the prompt.
Yes. A guided online workflow is enough to learn the core sequence: choose a reference, describe the transformation, generate a result, and refine it. Advanced tools become useful later when you need deeper control or repeatability.