Upload the reference
Choose a clear image with the composition, pose, or silhouette you want to carry forward. A simple source makes it easier to identify what should remain unchanged.
Practical workflow
Image to image stable diffusion turns a reference into a guided starting point for a new render. You control how closely the result follows the source by balancing the prompt, model, and denoising strength.
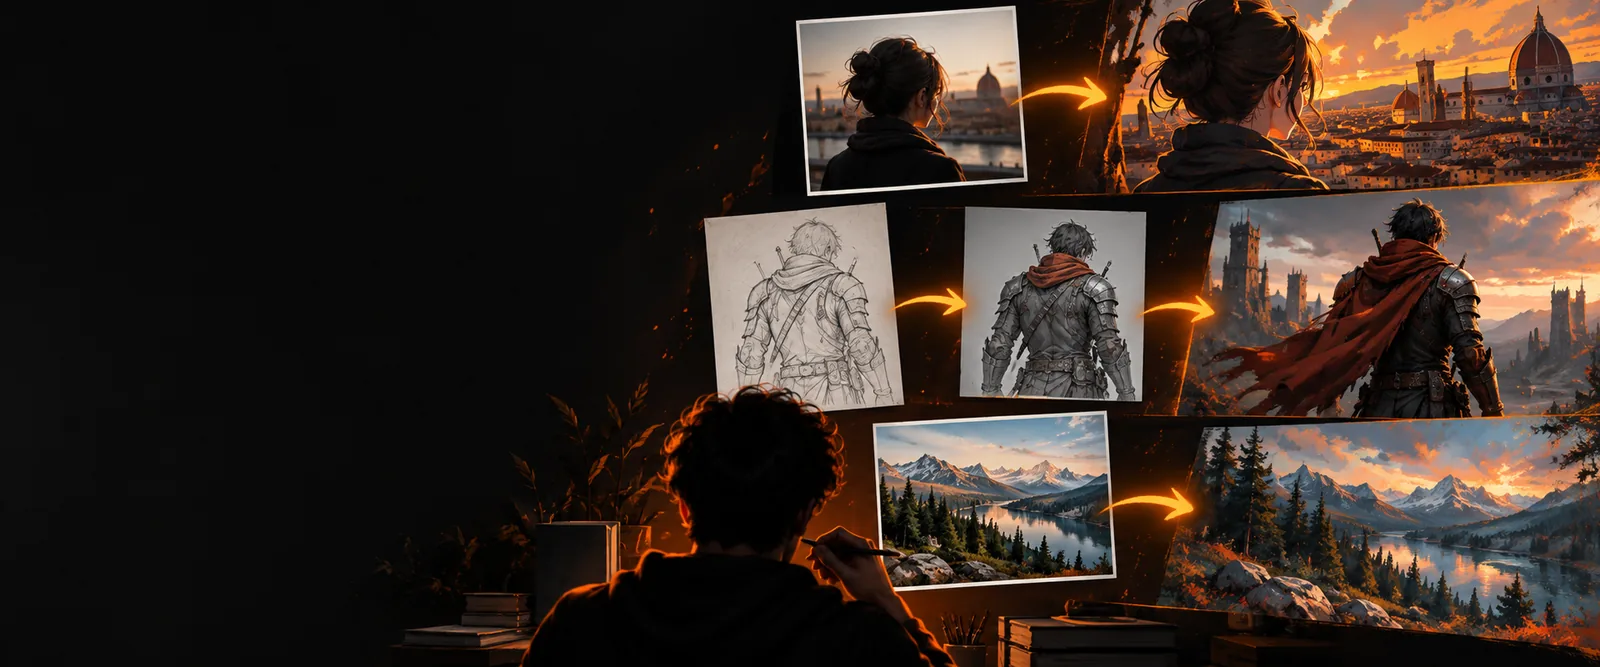
Before you begin
A dependable run starts with a clear source image and a small set of deliberate choices. Prepare these details before adjusting advanced settings.
The source should be readable at its important edges. Tiny, blurry, or heavily compressed inputs give the model less structure to preserve.
WorkaroundCrop to the subject, improve contrast, or use a cleaner source before generating.
A general checkpoint may struggle with faces, product details, anime styling, or unusual materials. The workflow cannot compensate for a model that has not learned the visual language you need.
WorkaroundChoose a checkpoint or style intended for your subject, then keep the prompt focused.
The process guides composition and appearance; it does not guarantee pixel-perfect edits or preserve every small detail.
WorkaroundUse a lower denoising strength for structure, make smaller changes, and iterate from the best result.
One generation rarely resolves every issue. Anatomy, text, hands, and repeated patterns can still fail even with a strong reference.
WorkaroundGenerate several variations, fix one issue at a time, and use an inpainting pass where available.
The workflow
The basic loop is simple: provide structure, describe the intended change, then tune how much freedom the model has to redraw.
Choose a clear image with the composition, pose, or silhouette you want to carry forward. A simple source makes it easier to identify what should remain unchanged.
Name the subject, setting, materials, lighting, and visual treatment. State the change directly instead of describing only the original image.
Start in a middle range, then move lower when structure matters or higher when you want a more substantial redesign. Compare outputs rather than chasing one perfect value.
Keep the strongest variation, adjust one variable, and run it again. Small prompt or strength changes are easier to evaluate than changing everything at once.
Related routes
The same image-to-image idea can feel very different depending on whether you want a quick browser workflow or more hands-on control.
Use node-based control when you want to inspect and reuse each stage of a custom workflow.
Follow a dedicated tutorial when you want a slower walkthrough of setup, prompts, and settings.
Use an online image transformation workflow when you want to begin in the browser without local installation.
Visual check
A useful result keeps the parts of the source that matter while changing the requested style, setting, or finish. The divider below represents that shift.
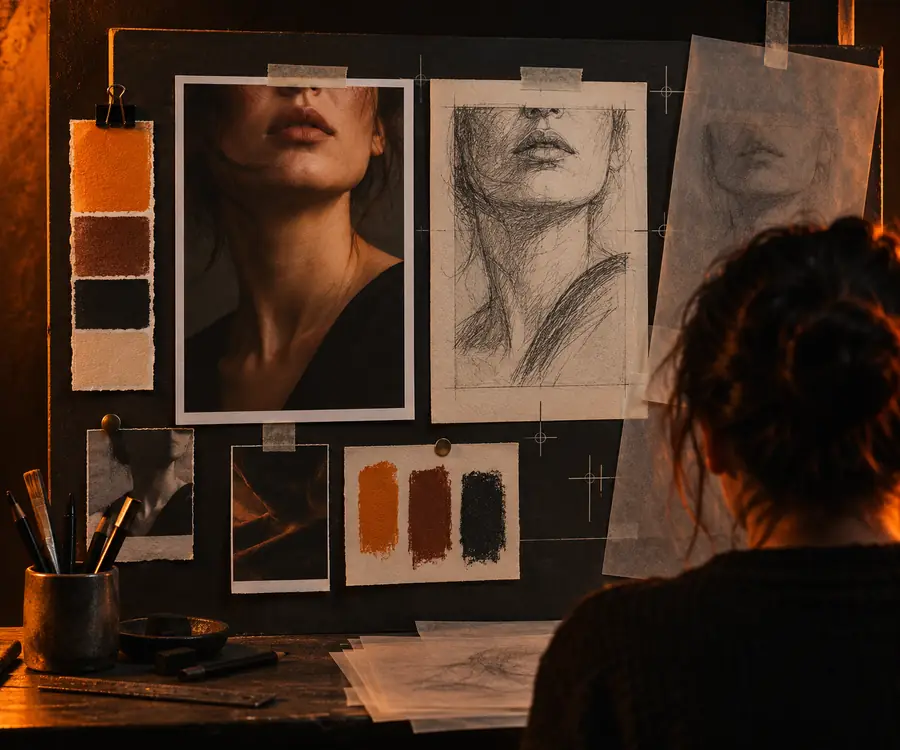
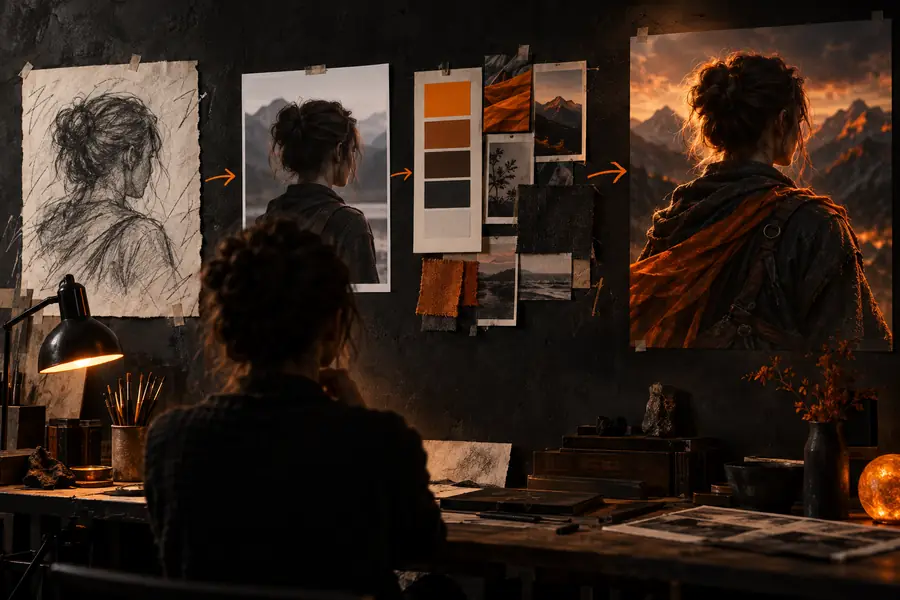
The output follows the source, but it is not a pixel-perfect copy.
Practical uses
Image-to-image is most useful when you already have a visual direction and need controlled variations rather than a completely blank canvas.
Start with a loose sketch or block-in and explore lighting, costumes, environments, or camera treatments.
You preserve the composition while testing several polished directions. For a broader browser workflow, try image to image ai online.
image to image ai onlineUse a rough product silhouette or packaging mockup as the anchor for materials, colorways, and presentation scenes.
The reference supplies proportions while the prompt explores finish and context. For a visual alternative, see image to image ai realistic.
image to image ai realisticTransform an early character, prop, or environment paintover into multiple art directions without rebuilding the layout each time.
You can compare style passes while retaining recognizable forms. For deeper workflow control, use image to image comfyui.
image to image comfyuiUse a portrait or scene as structural guidance for a new mood, wardrobe concept, background, or editorial treatment.
The source anchors framing and subject placement while the prompt changes the visual story. For beginner guidance, read the image to image tutorial for beginners.
image to image tutorial for beginnersSettings guide
These choices affect how much the output follows the reference and how much freedom the model has to invent new details.
Lower setting or tighter control
Preserves more of the source composition, silhouette, and major forms.
Higher setting or broader change
Redraws more of the image and allows stronger changes to shape and style.
Lower setting or tighter control
Describe only the changes that matter when the reference already carries useful detail.
Higher setting or broader change
Add explicit subject, lighting, material, and style information when the output needs clearer direction.
Lower setting or tighter control
Works best when the pose, perspective, and framing are already close to the goal.
Higher setting or broader change
May be reinterpreted more freely when the original layout is only a rough suggestion.
Lower setting or tighter control
A general model can be a practical starting point for ordinary scenes and concepts.
Higher setting or broader change
A specialized model can produce stronger results for realism, anime, products, or other distinct subjects.
Lower setting or tighter control
Generate at a manageable size while testing prompts and settings.
Higher setting or broader change
Use an upscale or second pass when fine texture and surface detail become important.
Lower setting or tighter control
Change one setting at a time so you can identify what improved the result.
Higher setting or broader change
Use broader variation only after you understand which parts of the workflow are stable.
Start creating
Bring a source image, describe the result you want, and let the workflow handle the first round of exploration. Keep the strongest output and refine from there.
Common questions
Answers to the questions people usually ask before trying this workflow with Stable Diffusion.
It is a generation method that uses an existing image as visual guidance for a new output. A prompt describes the intended result, while denoising strength controls how much of the source is retained.
Neither is always better. Image-to-image is useful when you need to preserve a pose, layout, or silhouette, while text-to-image offers more freedom when you are starting without a reference.
Start around the middle of the available range and compare several outputs. Lower values usually preserve more structure, while higher values create larger changes; the best setting depends on the source and the model.
The denoising strength may be too high, the prompt may conflict with the source, or the model may be poorly suited to the subject. Try a clearer image, lower the strength, simplify the prompt, or switch checkpoints.
It can preserve broad facial structure and composition, but small features may change during redrawing. Use a suitable model, moderate denoising, a clean source, and a focused correction pass for important details.